OPEN NOW!
…
OPEN NOW!
…
Here are the final images of my exhibition ready for marking, I can now look forward to the 20th June for the official opening!

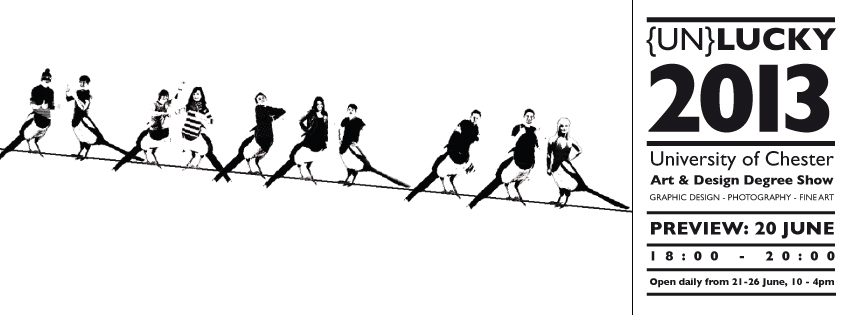
Final Exhibition: Opening on 20th June 18:00 – 20:00, open daily from 21st – 26th June 10:00 – 4:00pm

Final Exhibition: Opening on 20th June 18:00 – 20:00, open daily from 21st – 26th June 10:00 – 4:00pm

Final Exhibition: Opening on 20th June 18:00 – 20:00, open daily from 21st – 26th June 10:00 – 4:00pm

Final Exhibition: Opening on 20th June 18:00 – 20:00, open daily from 21st – 26th June 10:00 – 4:00pm

Final Exhibition: Opening on 20th June 18:00 – 20:00, open daily from 21st – 26th June 10:00 – 4:00pm
This exhibition has been a great way of bringing this year, and this degree, to a close. I look forward to see what my future brings!
…
As well as the exhibition, I must also get my portfolio and personal development plan that I originally submitted for my promotional design module printed to leave alongside my exhibition.
As my ‘logo’ is the compass, I have decided to experiment with cutting this out if black card and perhaps having the cover for each document in one of my paintings. The compass cutting will form the front of a black box which will contain both documents. The concept being that the colours of the compass will change depending on the document order within the box…

I have also designed some business cards which I have sent off for from Moo, they have just arrived and I am very pleased with the outcome, I think they match very well with my PDP and portfolio, as well as having colour links with my exhibition as a whole.

Business Card 1

Business Card 2

Business Card 3

Business Card 4

Business Card 5

Business Card Back
…
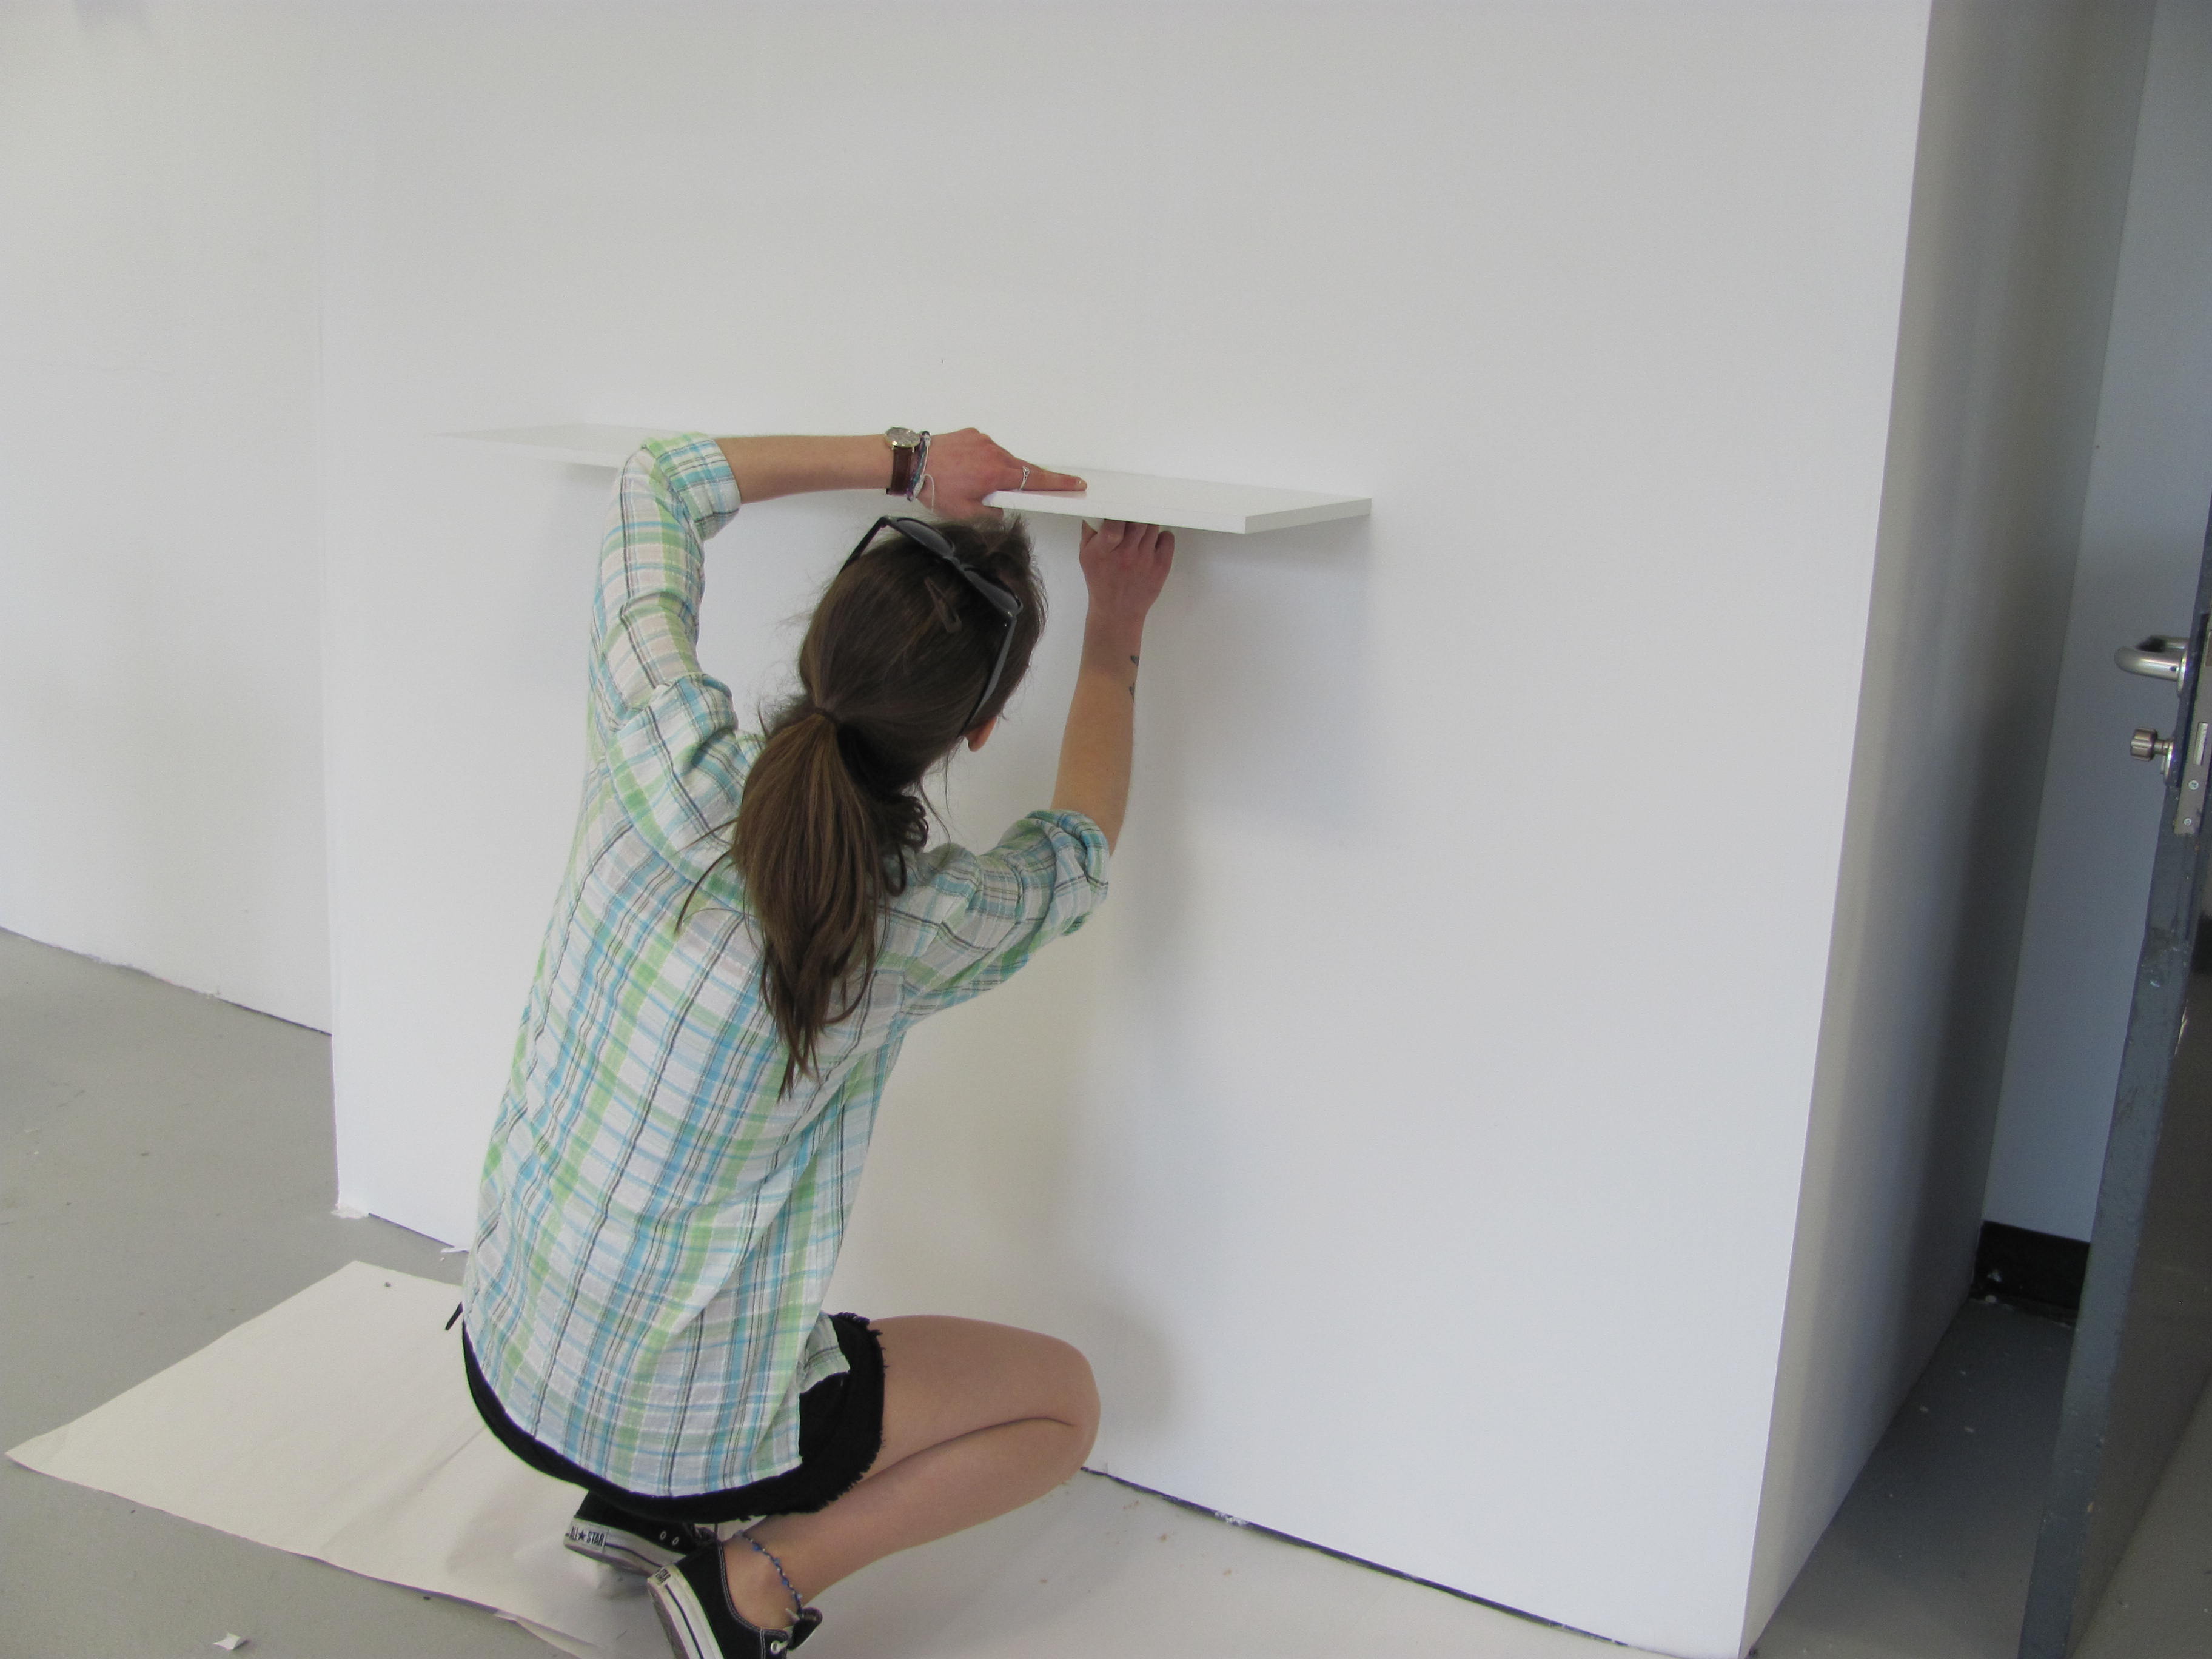
Setting up my exhibition space:
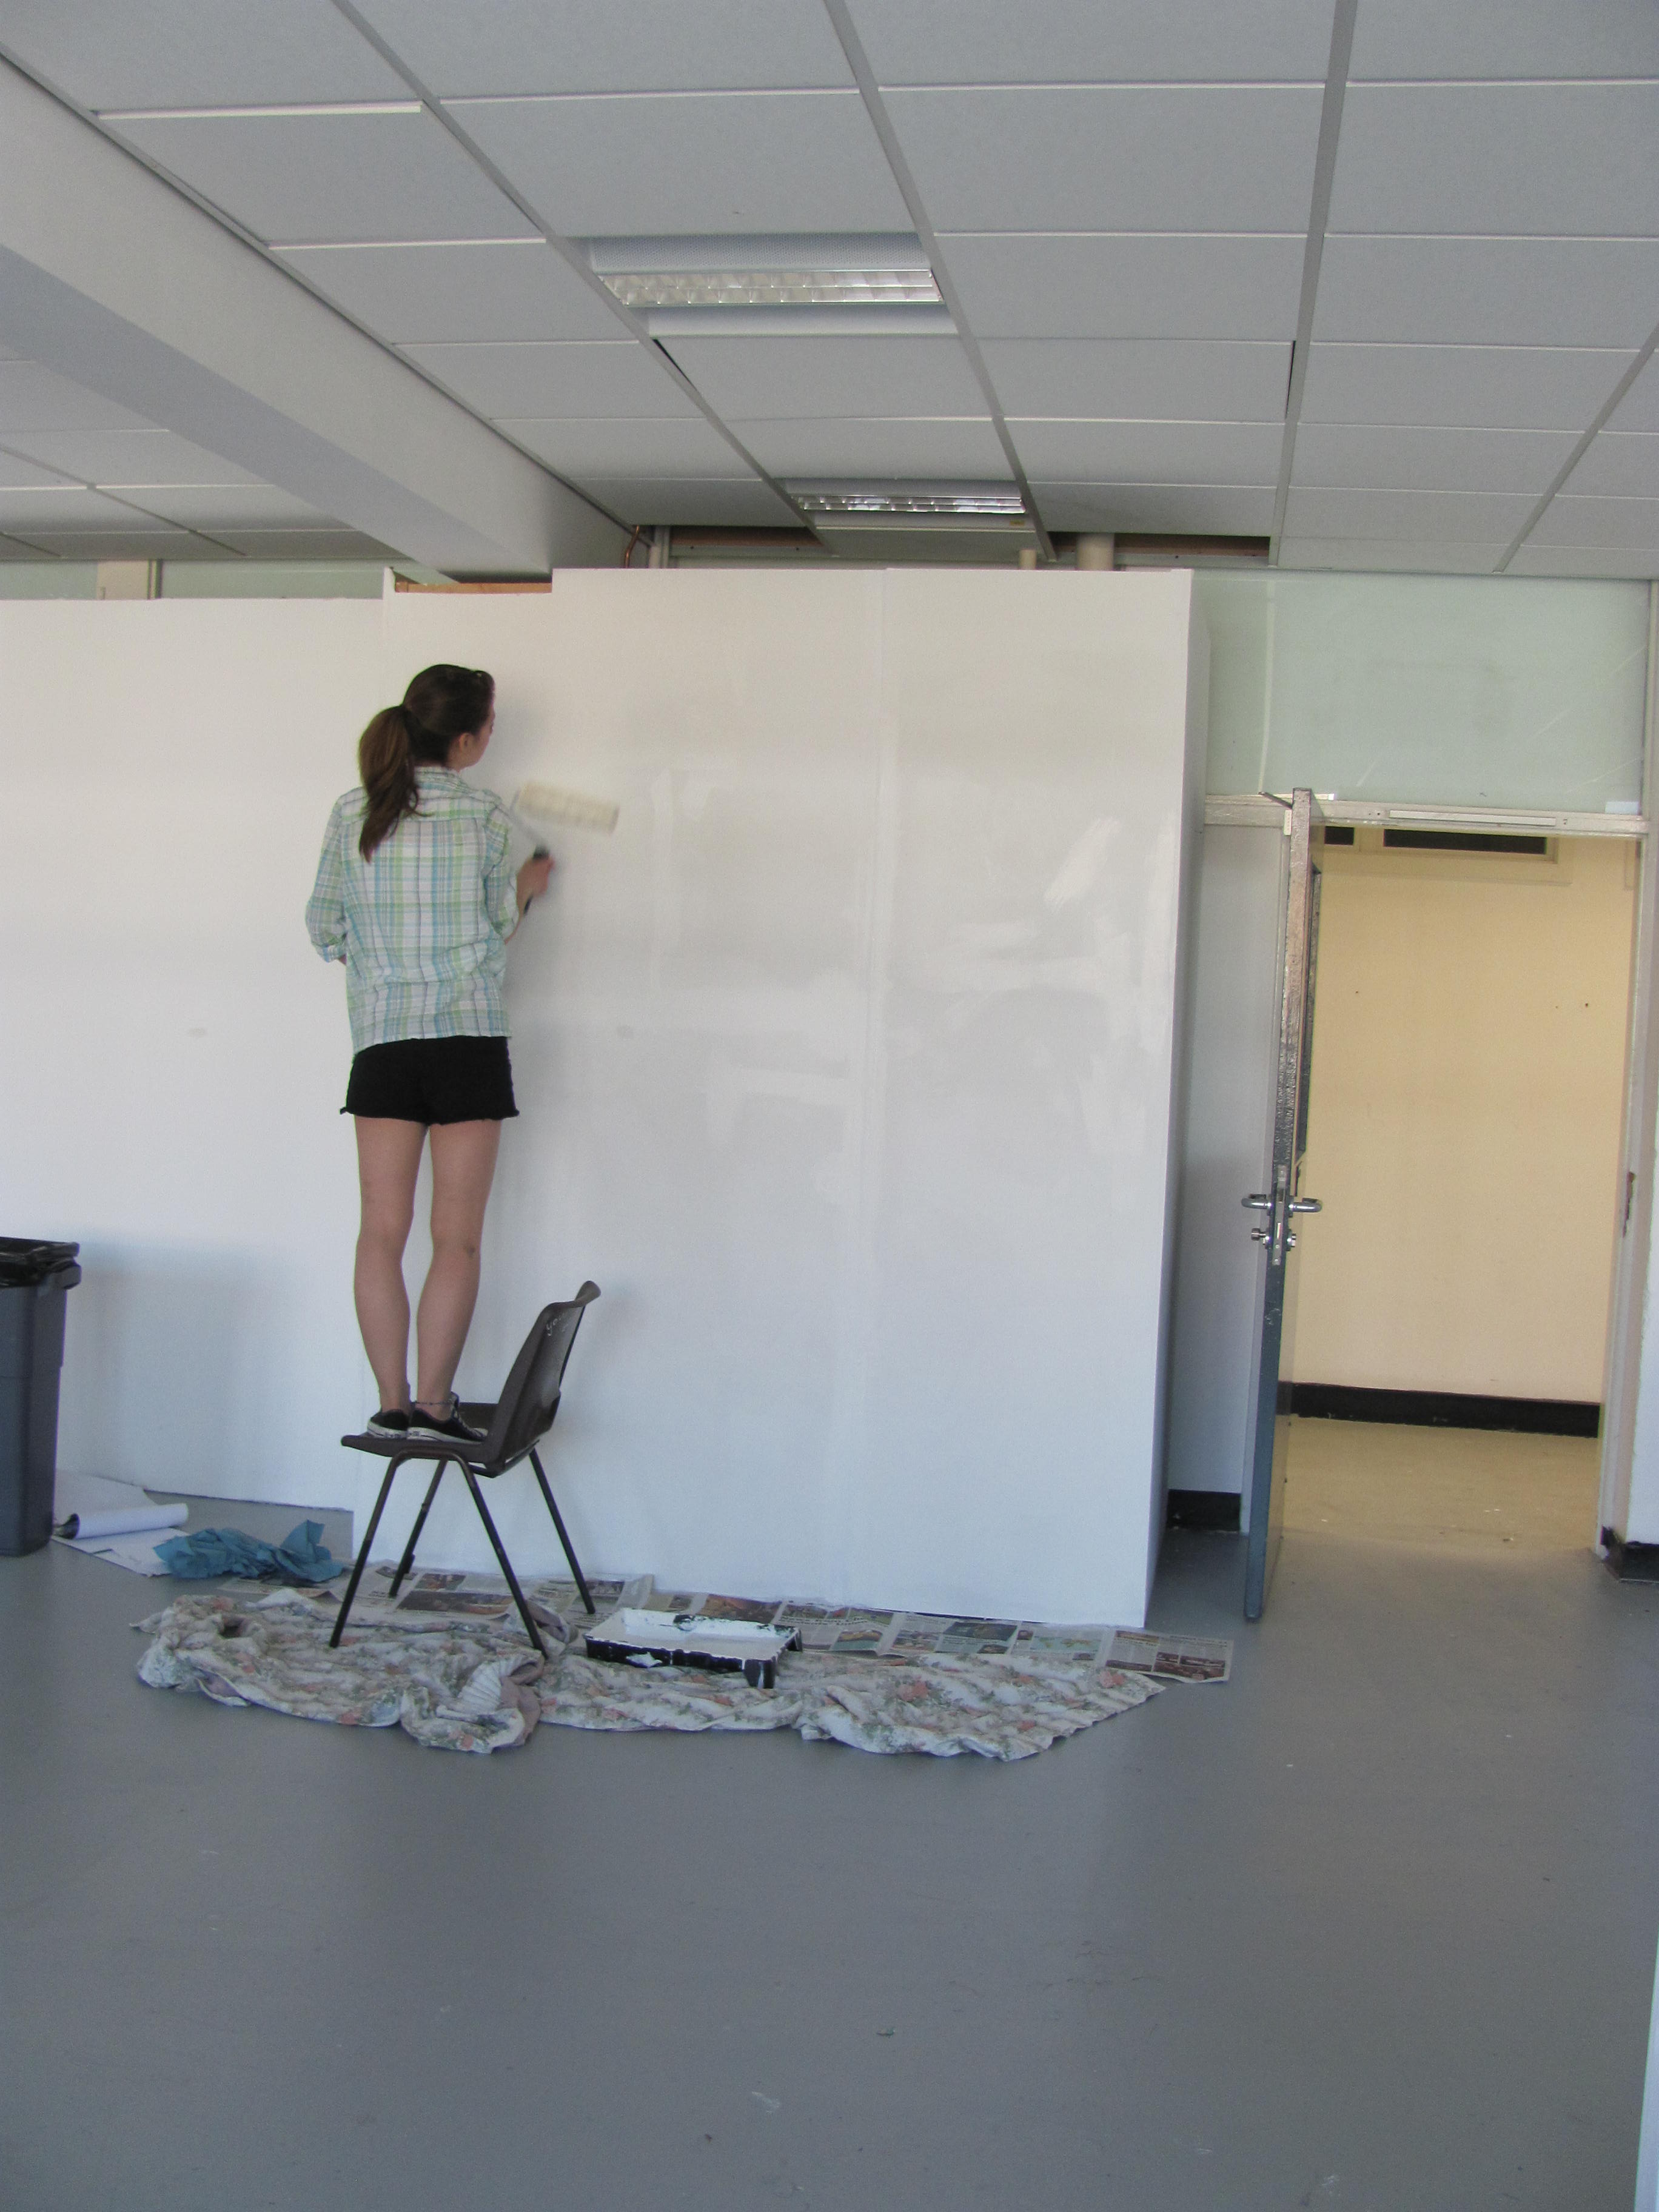
I have also had the idea of spray painting some branches white to fit in with the rest of the exhibition space, and somehow attaching them to my shelf. I think this will help continue my woodland theme…
Again, after experiencing difficulties when printing the flexagons onto good quality paper myself, I decided to try asking the print shop on campus to run my paper thought their printers to see if that made any difference.

Cracked and peeling ink…
Whereas before the texture of the paper caused the ink to crack and start peeling off, the print shop managed to ensure the ink stayed put!
I have got 22 printed out which I am yet to cut out and fold, this is to cover all my options when putting together my arrangement in my exhibition space. At the moment, im thinking of only having one flexagon, however maybe having a large collection of them would work better, therefore allowing the people visiting the exhibition to pick them up and play with them, and hopefully experience the connection with the woodland I intend them to.

Flexagons
…
After coming to a bit of a dead-end in the progression of my exhibition, I decided to go and have a meeting with one of my tutors to see if they could offer any advise for me.
It was decided that I would print out my panorama on the roll printer, and then stick it onto boards and create a black border to surround the image. However, upon printing the image and seeing the scale of it, it would be very hard to stick the image onto foam board without there being a large crease through the middle of it, also the quality of the roll of black that I had purchased seemed to detract from the image and make it seem cheap…
My worry was the large white section in the image which would merge into the white walls of the exhibition space, and therefore get lost…by getting some friends to hold the image on its own up against the wall, I found the problem wasn’t as apparent as I thought. The white of the walls and the white on the image were slightly different, and instead of losing the image, it actually helped to enhance the feeling of depth and perspective.
…
Now that I have completed all of my major university hand ins, I now must focus on my exhibition which is due to be completed by the 6th June.
I know I want to exhibit my journal set which I completed for my personal brief, but how is what I need to work out…
Initial Exhibition Idea
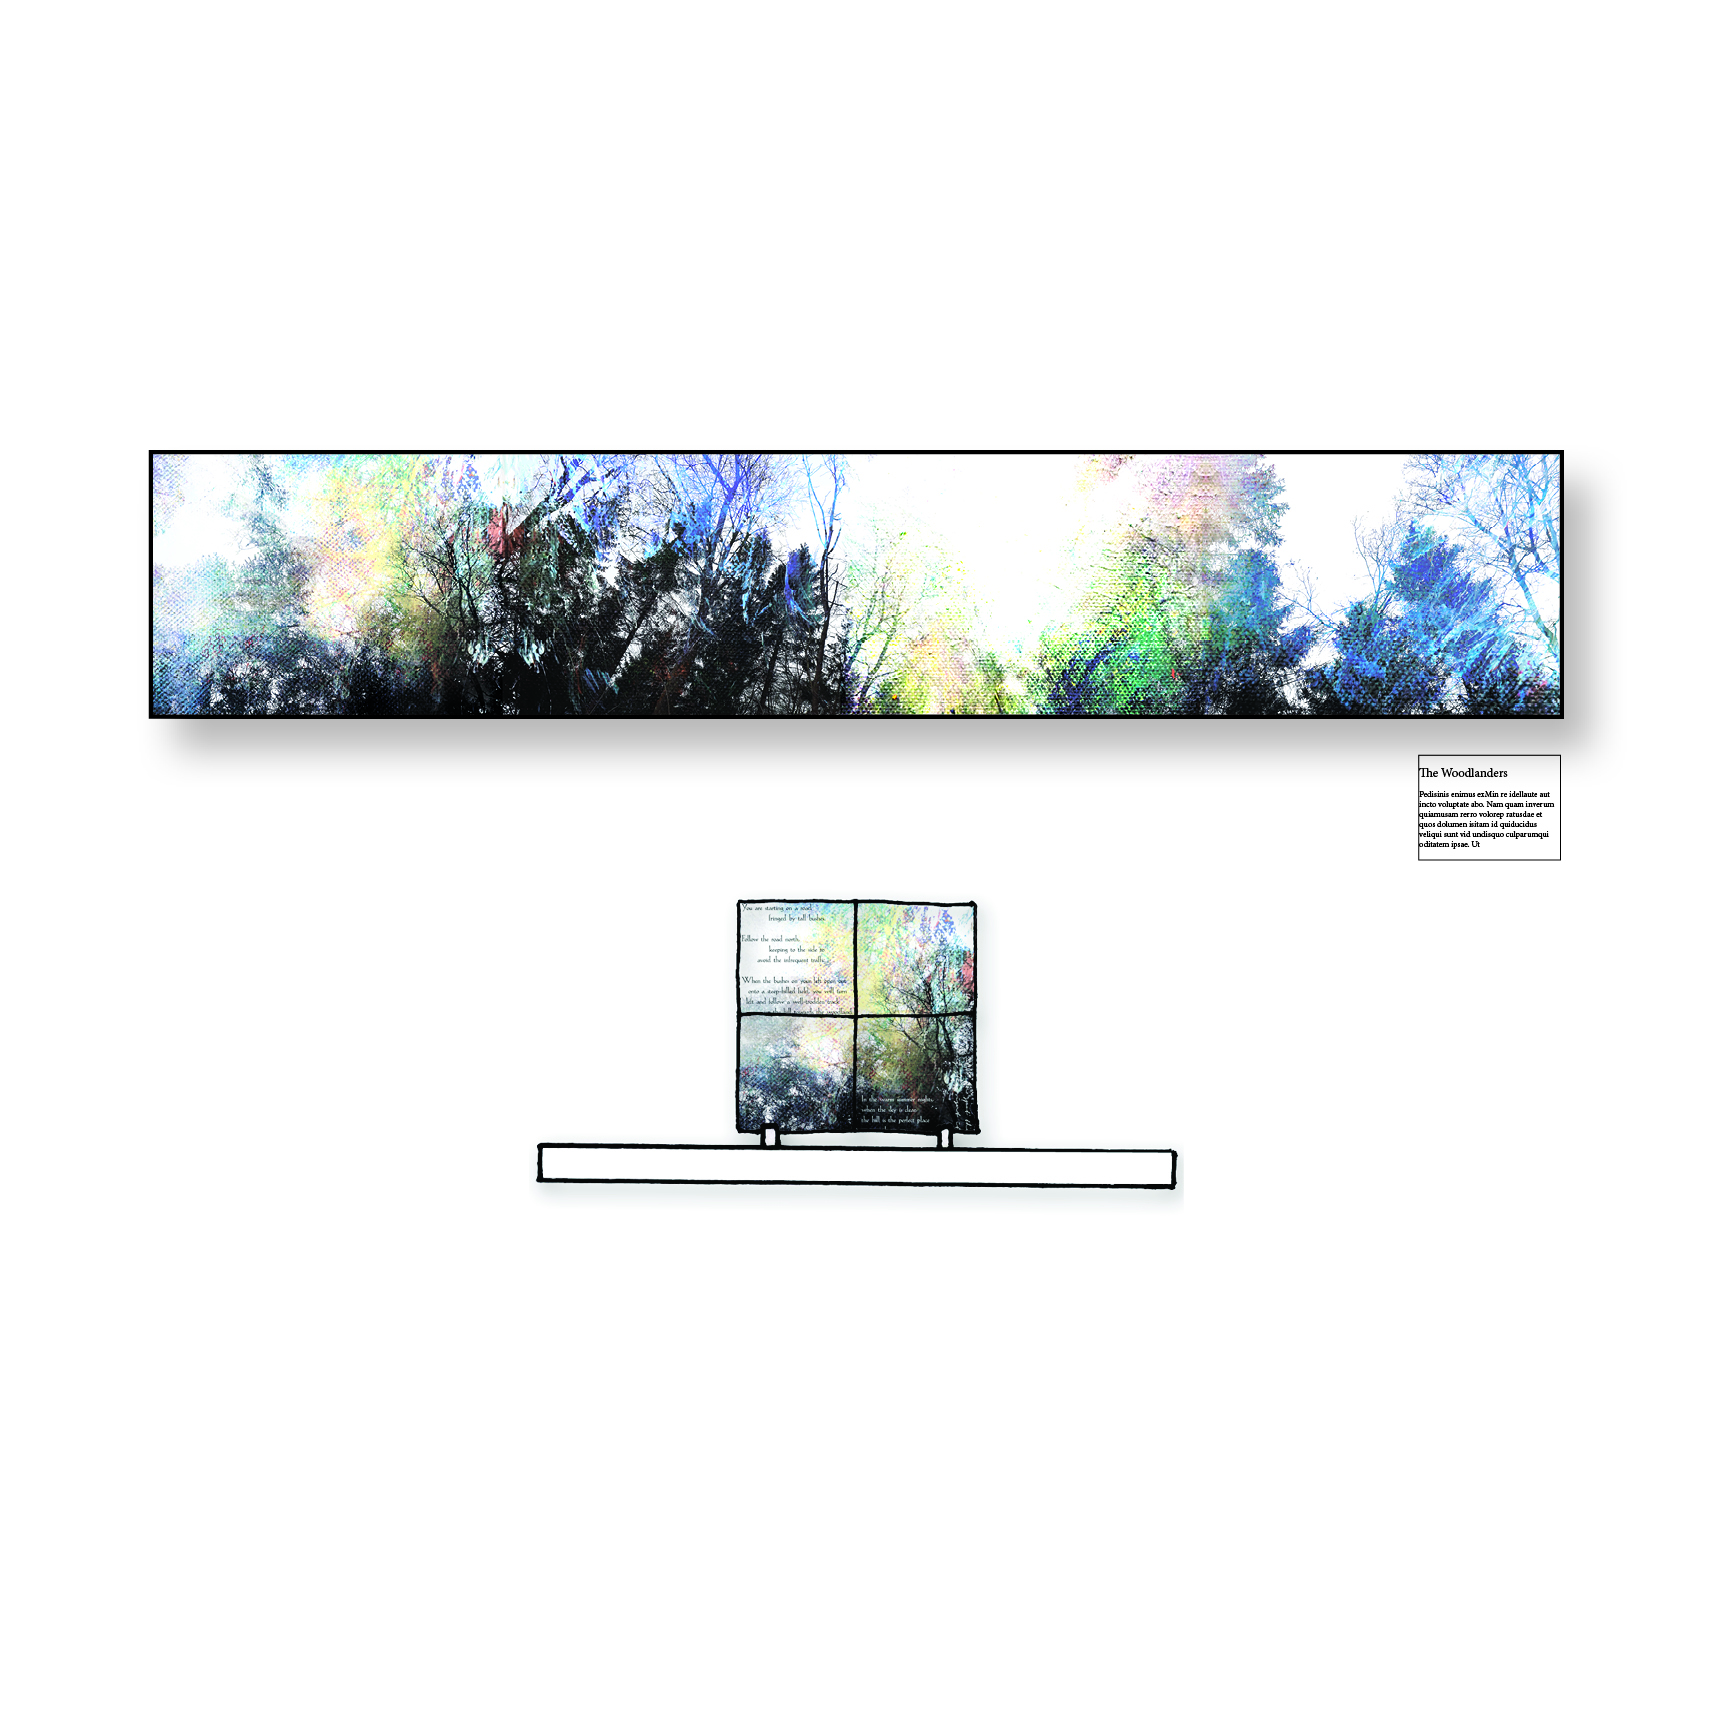
So far I have experimented with using a photo transfer method (by following this tutorial) to see if there was a way of transferring the panorama image (below) onto a plank of wood, or a canvas. The results have shown me that unfortunately the wood meant that the image was lost and ended up being very hard to see, but the canvas worked better. If I can find a canvas the right size I might try this method for real on a larger scale, however if the risks (and costs for materials and printing) turns out to be too much, I might just have to settle with getting it printed professionally and then mounting it either in a nice frame or on foam board.

The Woodland (panorama)
I also know that I want a shelf, so that the journal set can be displayed effectively. I was thinking that the flexagon could be printed on a riso printer or even be screenprinted, however due to the sheer amount of different colours I have included in the illustration, I now don’t think this will be the most effective method (despite initially thinking that this is what I should do). So then I thought about just printing out the flexagon onto good quality paper, however, the paper I was picking was too thick and ended up cracking the ink or not even working…this section I feel needs more experimenting.
For my self promotion side of the exhibition, I have just sent off for some business cards, which I hope will arrive on time! And I am due to go and get my PDP and portfolio printed out on Tuesday next week…
Again, as I have now come to the end of the competition brief I am very proud of my solution to the problem outlined by the client Douwe Egberts. Despite not being short listed, I have thoroughly enjoyed all aspects of the brief and how it has allowed me to develop as a designer.
Below is a link to my final rationale that I submitted along with the prototype of the coffee pot for my university hand-in, if I’d have had the time, I would’ve liked to submit all of this for my competition entry, but due to time pressures, I was unable to have everything up to a high enough standard for me to be happy with it to submit back in march.
…
After struggling with this personal brief for the majority of the year, I feel that the final pieces that I ended up creating were better than I would’ve ever expected. Although at times it felt like a long and never-ending battle, trying to bring all my ideas into a coherent and focused path…my journal set has brought together all the visual ideas and all the theoretical ideas I had into a product that not only looks nice, but is functional too.
The journal set provides the perfect way of connecting people with their natural surroundings; the flexagon acts as a guide to lead people through a woodland (the woodland will be any woodland the person reading the guide has visited before; for me it is Conigree Woods in Gloucestershire). The language used and the abstract illustrations allow the people to use the guide in location, but also somewhere completely different, using their imaginations to follow the guide.

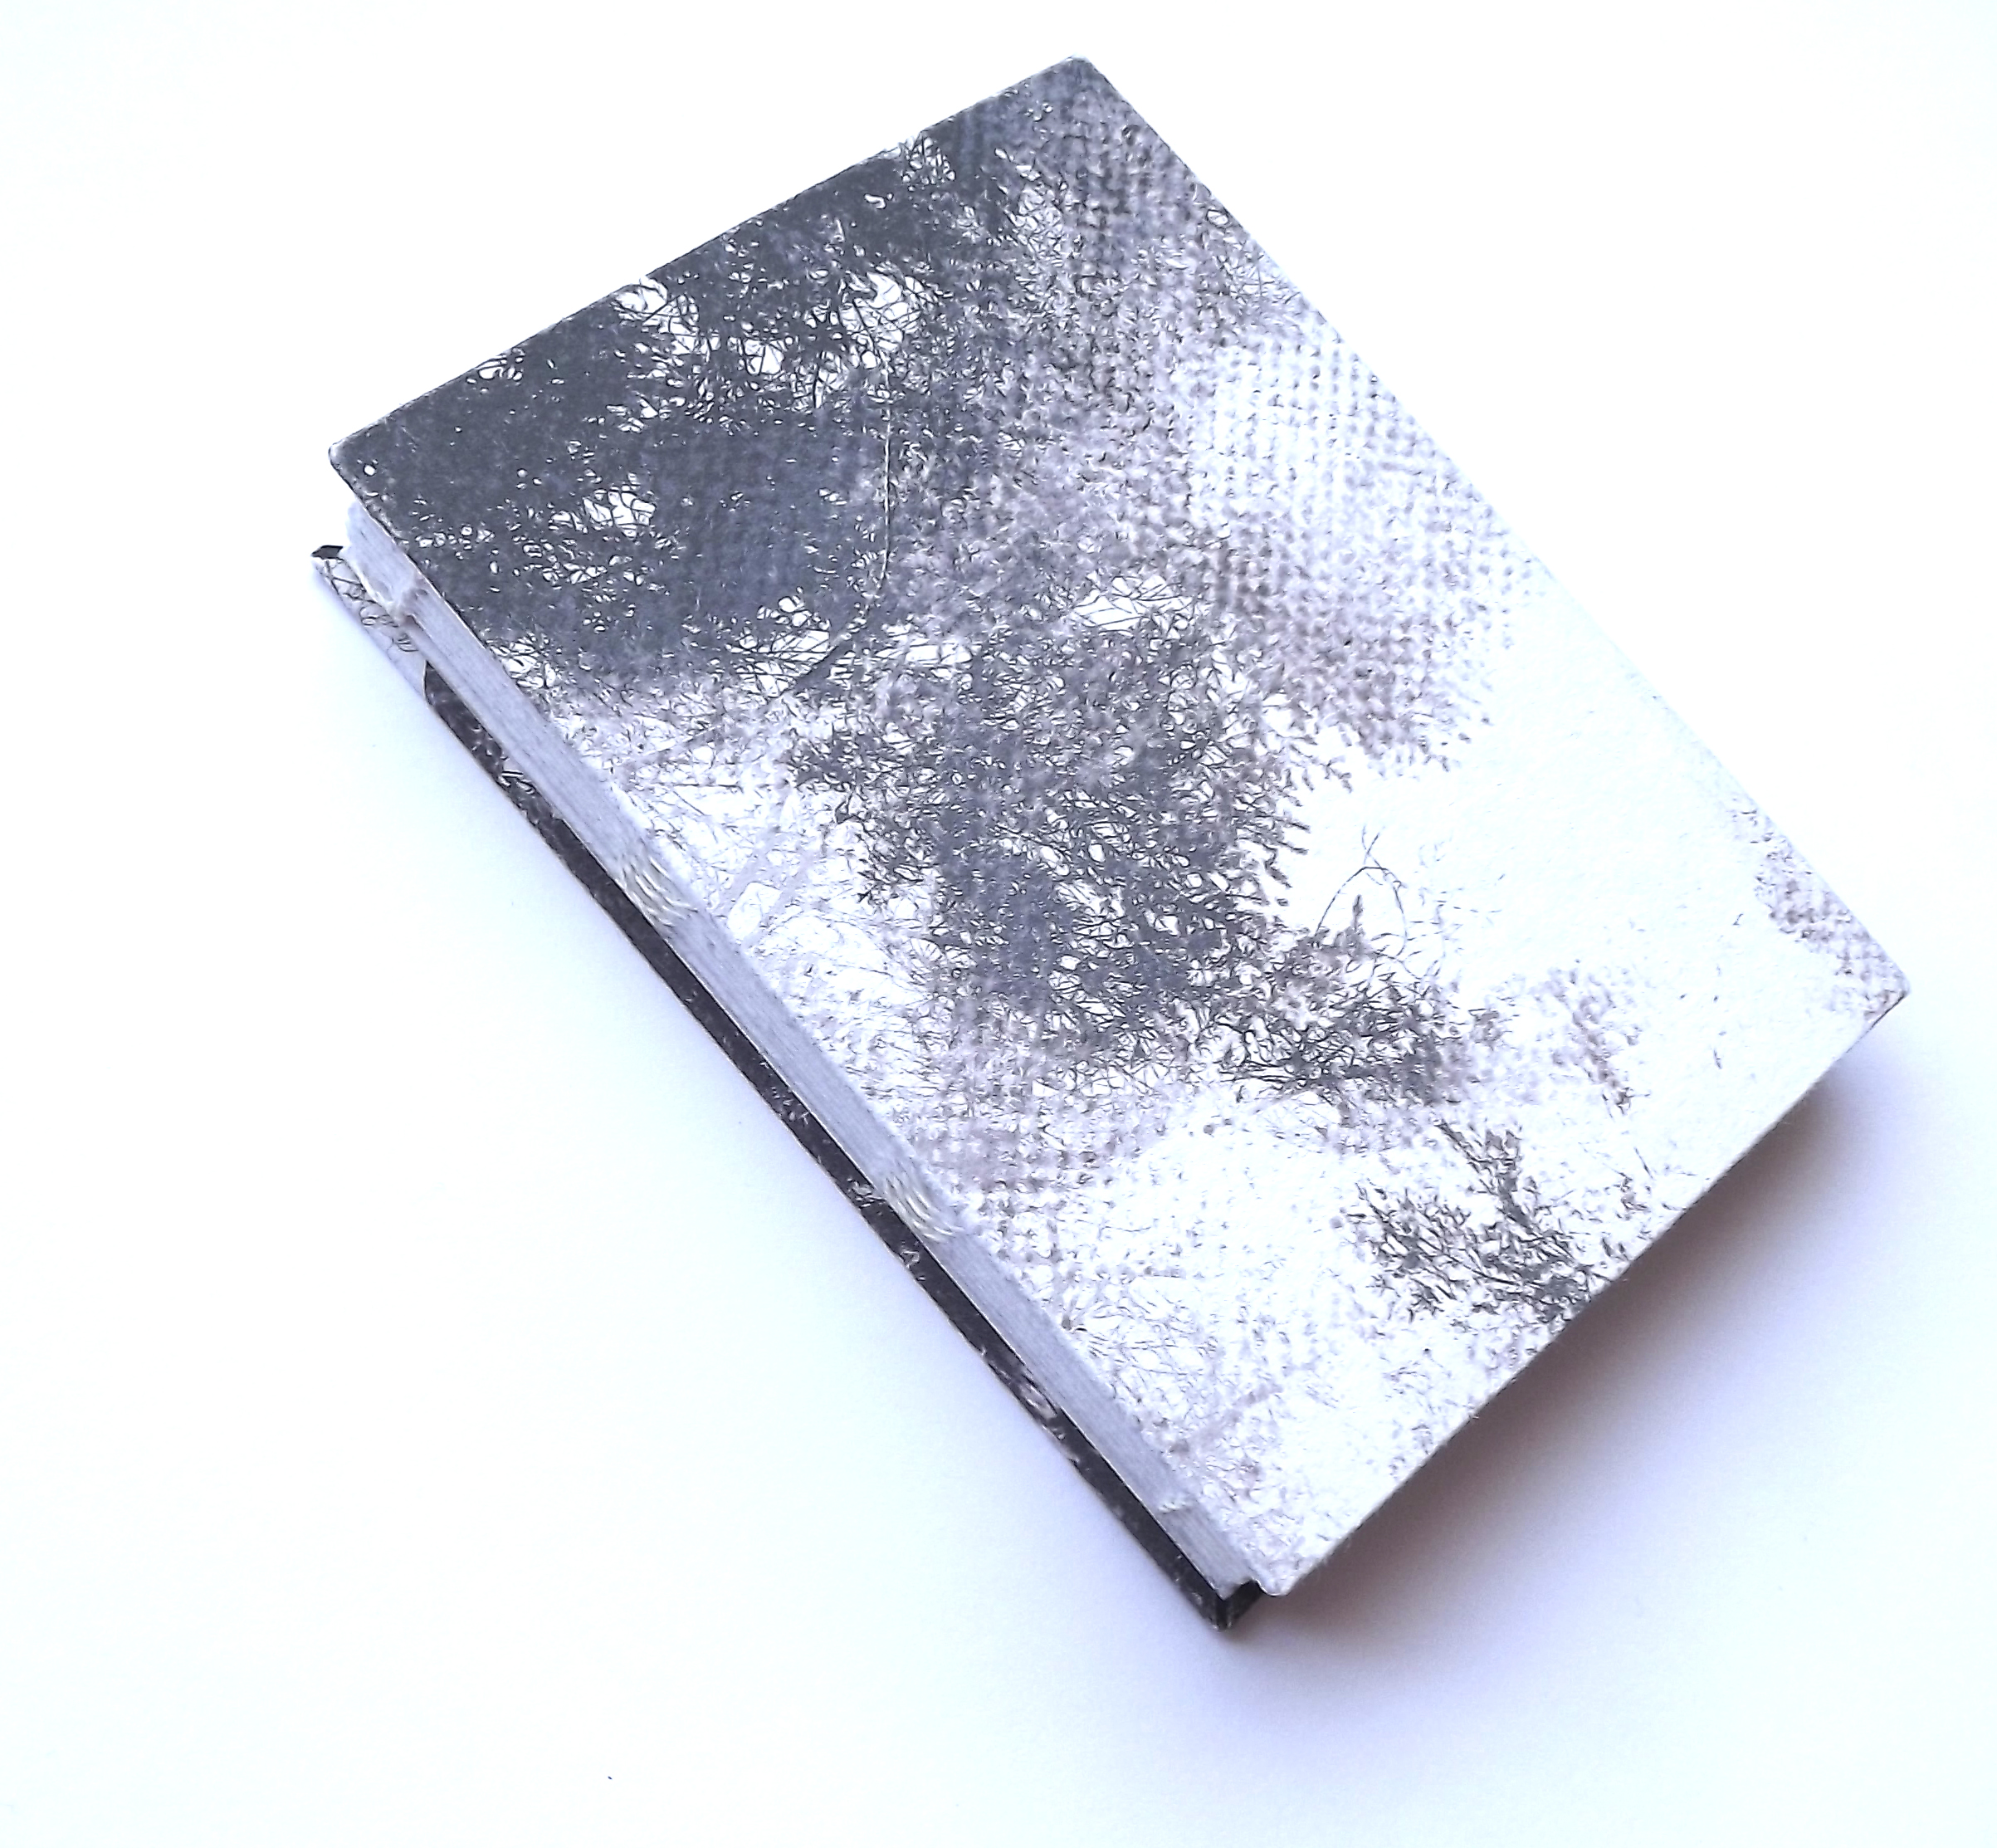
Journal Set

Journal Set

Journal Set – Flexagon
Within the set there is also a blank journal to allow people to record their reactions and connections with the landscape, as well as a small pocket for trinkets found on their travels.
Blank Journal
As this is the project I am intending on continuing on my fine art MA next year, I don’t feel as bad about how long it has taken me to get to this conclusion, because ultimately this is only the beginning of this project, I am looking forward to seeing how it develops from a fine art perspective next year…
As the end of my time at Chester University studying graphic design is coming, I have been writing up a personal development plan which has really made me stop and think about my what I have done in my time here, what I have learnt, and how prepared I now feel for my future.
Below is a link to my PDP and Portfolio:
…
